1) Django 시작하기 (Windows)
https://www.python.org/ Welcome to Python.org The official home of the Python Programming Language www.python.org 파이썬 홈페이지에서 파이썬을 설치합니다. https://www.anaconda.com/products/distribut..
knackin.tistory.com
Django App 만들기
프로젝트가 있는 폴더위치에서 vscode를 실행해줍니다. Ctrl + Shift + ` 명령어로 터미널을 불러오고 django-admin startapp myapp 명령어를 입력합니다. myapp 폴더가 생성된 것을 확인합니다. myproject 폴더..
knackin.tistory.com
https://docs.djangoproject.com/en/4.1/ref/templates/builtins/
Built-in template tags and filters | Django documentation | Django
Django The web framework for perfectionists with deadlines. Toggle theme (current theme: auto) Toggle theme (current theme: light) Toggle theme (current theme: dark) Toggle Light / Dark / Auto color theme Overview Download Documentation News Community Code
docs.djangoproject.com
Django를 보다보면 {% %}, {{ }} 등의 표현을 html 파일에서 볼 수 있는데 장고의 템플릿 기능이다.
위의 문서를 보면 기능이 많은데 몇가지만 정리해보려 한다.
1. Base.html 만들기 및 사용

우선 templates/base.html 파일을 만든다.
<!DOCTYPE html>
<html lang="ko">
<head>
    <meta charset="UTF-8">
    <meta http-equiv="X-UA-Compatible" content="IE=edge">
    <meta name="viewport" content="width=device-width, initial-scale=1.0">
    <title>{% block title %}My amazing site{% endblock %}</title>
</head>
<body>
    {% block sidebar %}
        <ul>
            <li><a href="/">Home</a></li>
            <li><a href="/blog/">Blog</a></li>
        </ul>
    {% endblock %}
    {% block message %}
    {% endblock %}
</body>
</html>
그리고 settings.py 파일에서 templates 위치를 알려준다.
'DIRS' : [] 로 비어있던 곳을 다음과 같이 추가해주었다.
TEMPLATES = [
    {
        'BACKEND': 'django.template.backends.django.DjangoTemplates',
        'DIRS': [os.path.join(BASE_DIR, 'templates')], # <--- 이 부분
        'APP_DIRS': True,
        'OPTIONS': {
            'context_processors': [
                'django.template.context_processors.debug',
                'django.template.context_processors.request',
                'django.contrib.auth.context_processors.auth',
                'django.contrib.messages.context_processors.messages',
            ],
        },
    },
]
myapp/templates/myapp/index.html에서 {% extends "base.html" %}을 작성해주면 base.html을 그대로 이어받아 {% block %}을 이용해서 추가로 내용을 작성할 수 있다.
{% extends "base.html" %}

{% block message %}
<h1>Hello django</h1>
{% endblock %}
2. Static 파일
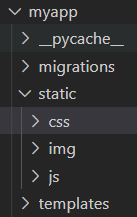
위와 같이 myapp 폴더 아래에 static 폴더를 만들고, css, img, js 폴더를 만든다.
그리고 settings.py에 static 부분에 STATICFILES_DIRS와 STATIC_ROOT를 추가한다.
# Static files (CSS, JavaScript, Images)
# https://docs.djangoproject.com/en/4.0/howto/static-files/

STATIC_URL = 'static/'

STATICFILES_DIRS = [
    os.path.join(BASE_DIR, 'myapp', 'static'),
]

STATIC_ROOT = os.path.join(BASE_DIR, 'static')
다음과 같이 아무 이미지를 img 폴더에 하나 추가해준다.

base.html의 body에 block img 폼을 하나 추가해준다.
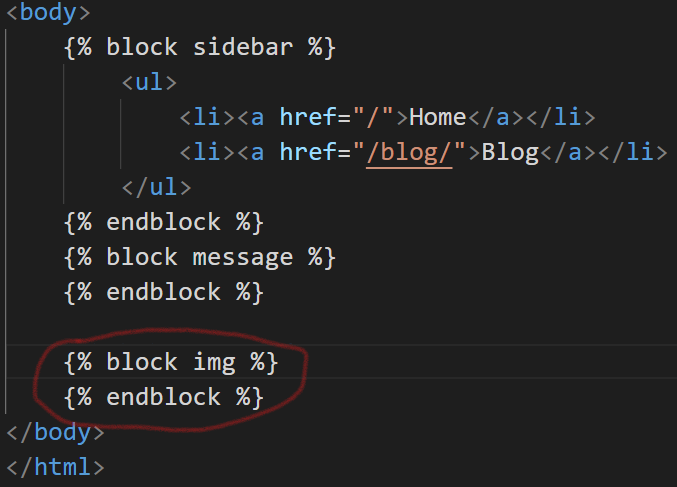
그리고 index.html에 이미지를 추가하는 코드를 작성한다.
{% extends "base.html" %}
{% load static %}

{% block message %}
<h1>Hello django</h1>
{% endblock %}

{% block img %}
<img id="image" src="{% static 'img/zzzz.jpg' %}" />
{% endblock %}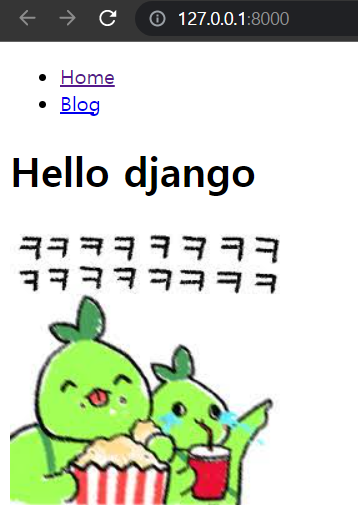
{% load static %} 코드로 static 파일을 불러올 준비를 하고, {% static 파일위치 %}로 파일을 불러온다.
{% extends %} 코드가 항상 맨 위에 있어야 한다.
base.html 상단에 {% load static %}를 추가하는 방법도 있다.
3. CSRF 토큰
입력을 받는 <form> 태그 안에 {% csrf_token %}을 넣어준다.
CSRF 공격은 HTTP POST, PUT, DELETE을 이용한 공격이므로 그때 마다 맞춰서 csrf 토큰을 사용하면 된다.
'Django' 카테고리의 다른 글
| 6) Django REST API (rest_framework) (0) | 2022.11.08 |
|---|---|
| 5) Django model 사용하기! (0) | 2022.11.01 |
| 3) Django mysql 연동하기 (0) | 2022.10.18 |
| 2) Django App 만들기 (0) | 2022.10.12 |
| 1) Django 시작하기 (Windows) (0) | 2022.10.11 |


